Running applications - a How To guides
An application is a relatively long running process that lets you perform some work. The only application currently supported is Jupyter Notebooks, accessed through the Jupyter Lab interface.
To launch this application locate it in the Apps/Jobs tab and click Run:
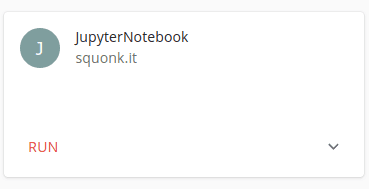
This will open the launch dialog:
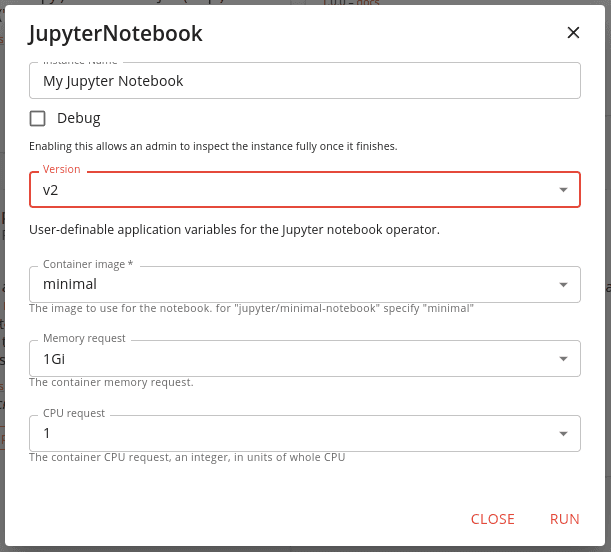
In that dialog you can specify a few options. Most importantly provide a sensible value for the Instance Name so that you can recognise this instance in the future. Also specify the Container image which defines the type of Notebook image to run. These are images from the standard Juypter project. If you need to use a different one then let us know and we'll see if we can add it to the list.
You might also want to specify additional memory or CPU requests, but only do this if you actually need those extra amounts.
When ready click on the Run button and a new container image running that type of notebook will be launched in the cluster and given access to the project's volume. It will be displayed at the bottom of the card:
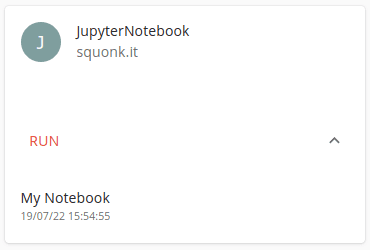
Click in it to take you to the details of the running instance in the Results tab.
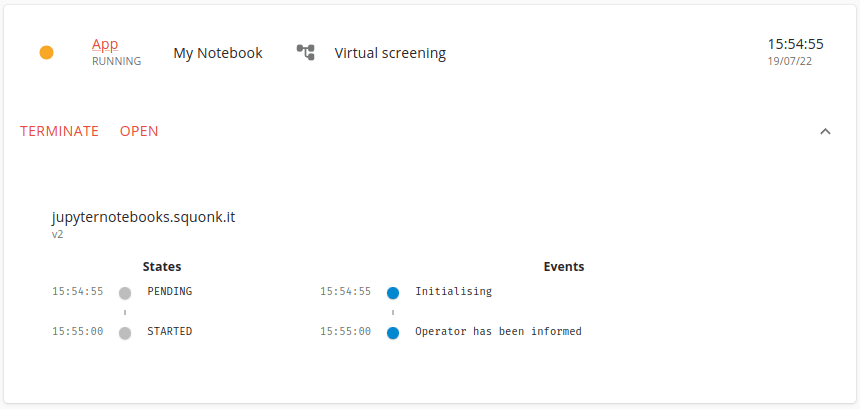
Now you can click on the OPEN button to open the Jupyter Lab interface in a new browser tab.
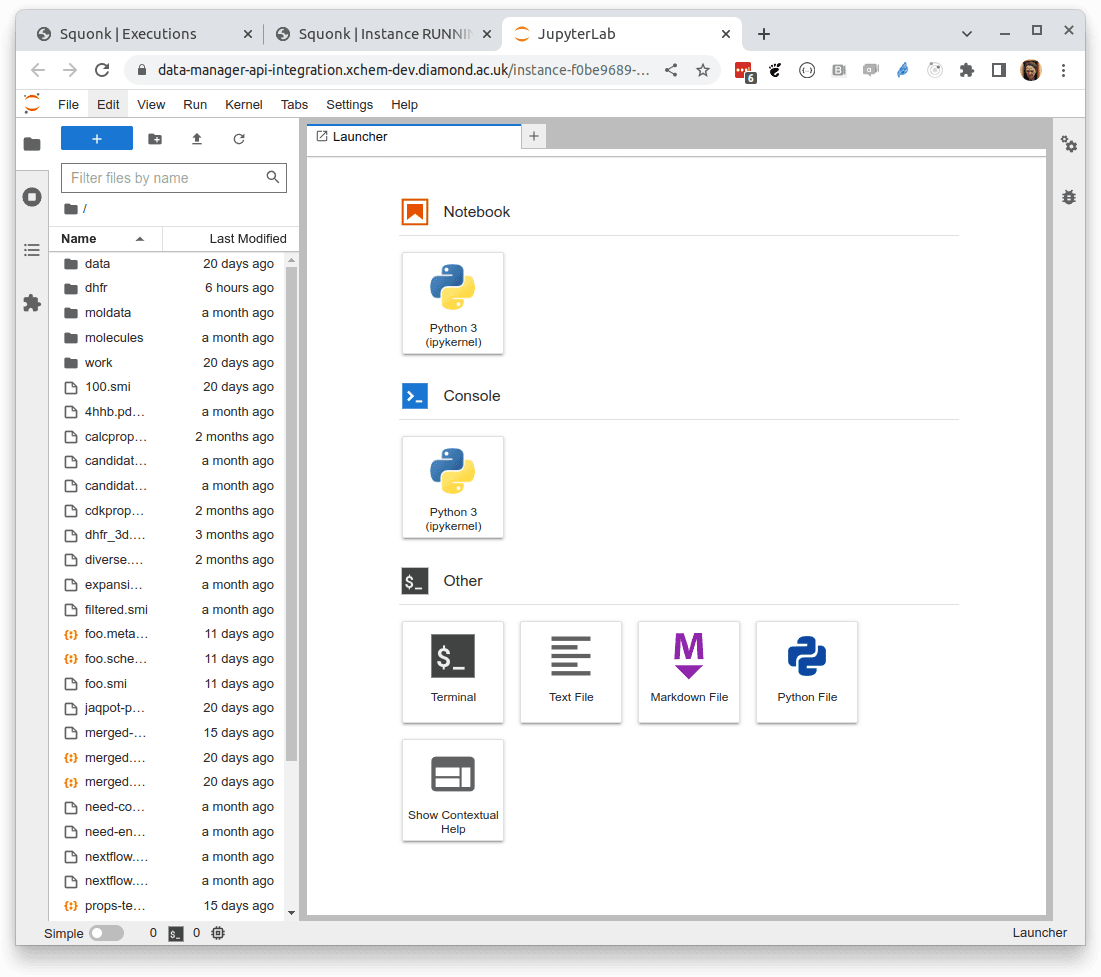
Here we assume that you are familiar with using Jupyter so won't go over this in detail, but in brief you can use:
- the file explorer on the left hand side to manage the files in your project
- launch a notebook by clicking icon in the Notebook section of the main panel
- launch a Python console by clicking icon in the Console section of the main panel
- terminal (bash shell) by clicking icon in the Other section of the main panel
All of these have full access to your project's data.
The exact details of what will be present in the Jupyter Lab interface will vary a bit depending on the type of container image you chose when you launched. For instance, if you chose to the r notebook option then you'll see options for R rather than Python.
These notebook images use the Conda package manager so you can use conda to install extra packages. For instance, to install RDKit you can execute this is a bash shell:
conda install -y -c conda-forge rdkit
or enter this as a cell in a notebook:
! conda install -y -c conda-forge rdkit
For large packages with lots of dependencies (like RDKit) this will take a bit of time to complete, but only has to be done once in the lifetime of the notebook instance.
When you are finished with the notebook instance click the TERMINATE button in it's instance details panel. This frees up all the resources used by the notebook.
